Mastering the Nemesis: My Guide to Dominating Apex Legends in 2025
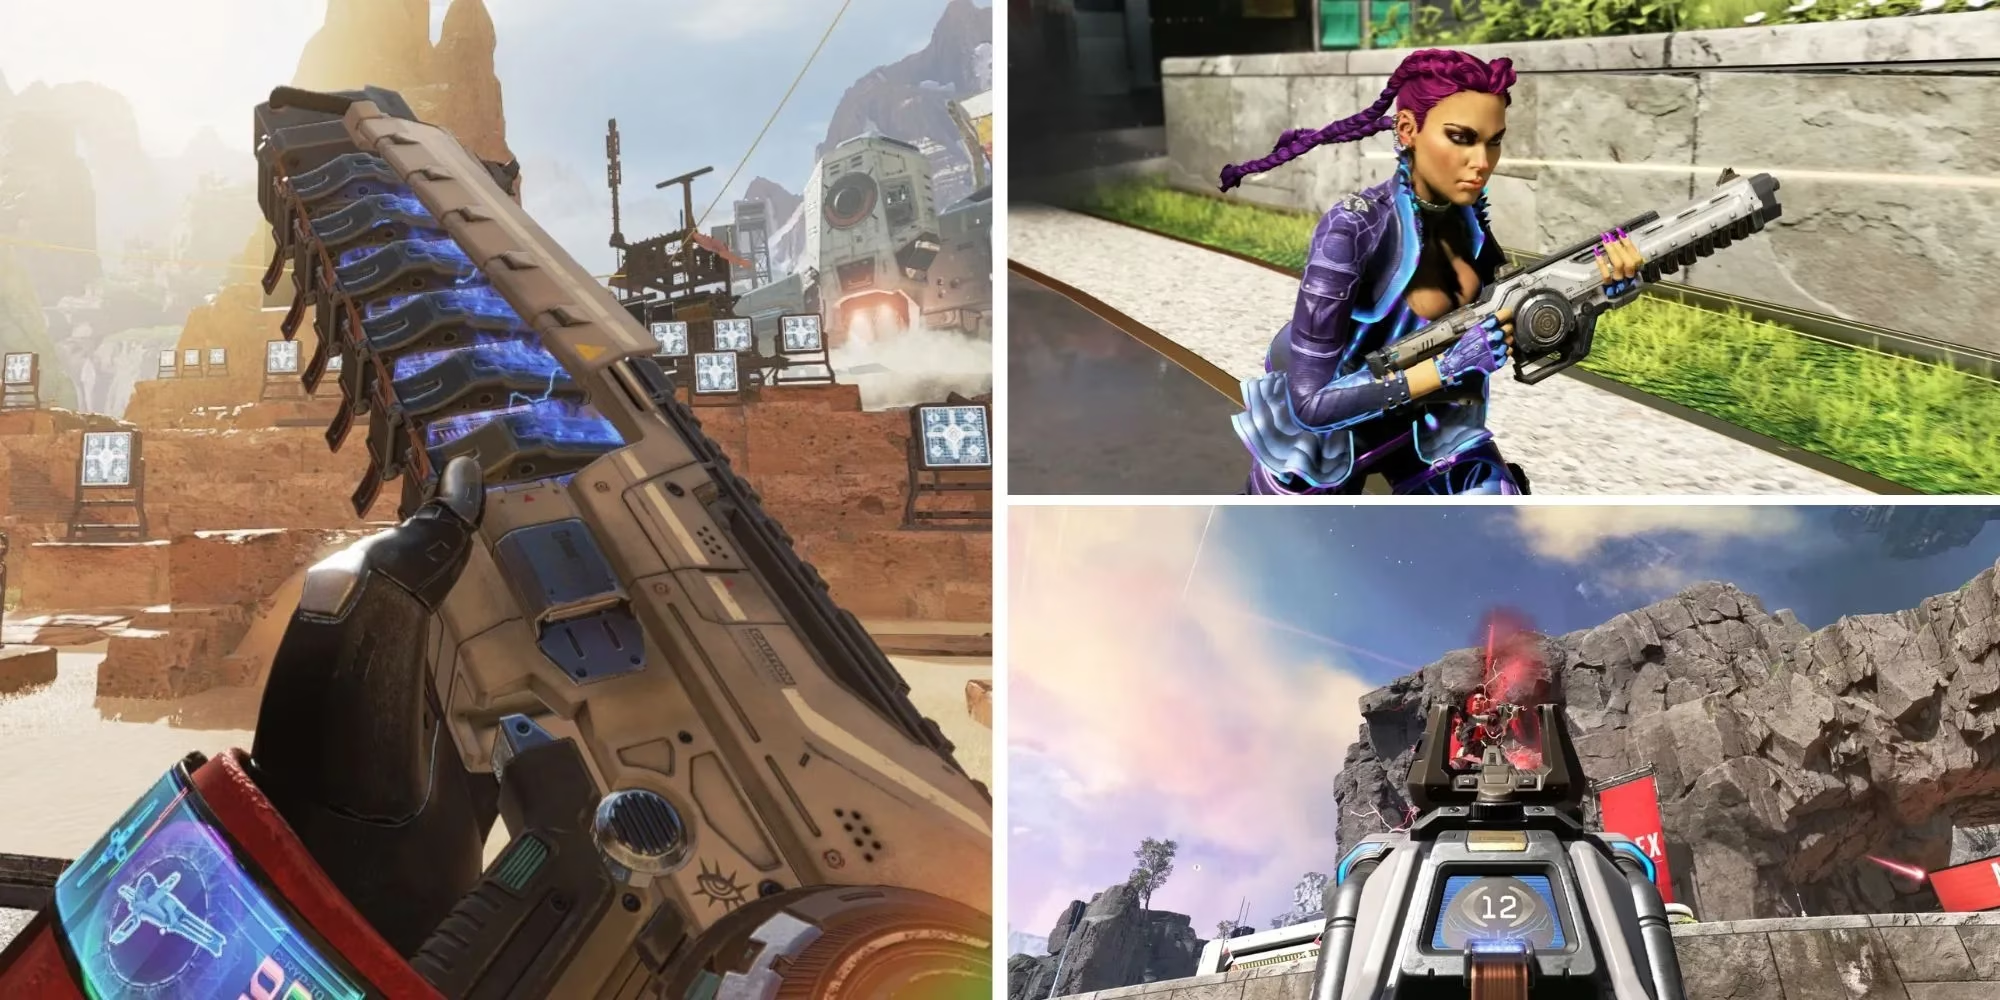
As an experienced Apex Legends player who has spent countless hours mastering various weapons, I've found the Nemesis to be one of the most rewarding yet challenging assault rifles in the game's current meta. This energy ammo-powered beast has maintained its position as a top-tier choice for players who understand its unique mechanics and limitations. Let me share my personal insights on how to wield this weapon effectively in today's competitive landscape.
Understanding the Nemesis Charge Mechanic
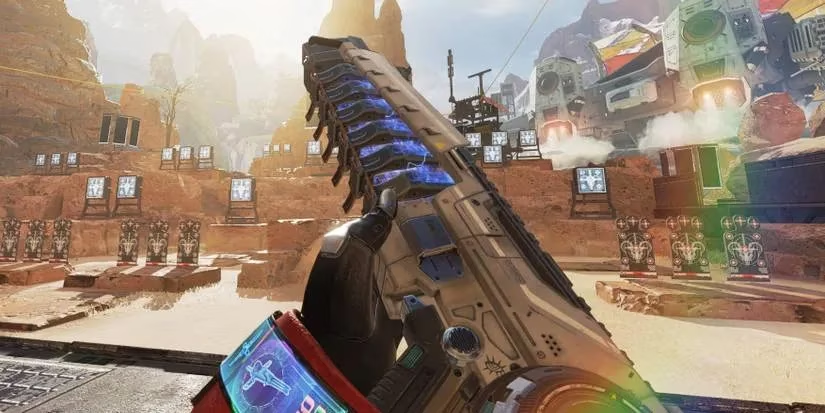
The Nemesis operates on a fascinating charging system that truly sets it apart from other weapons in the arsenal. When I first started using this rifle, I quickly realized that its performance evolves dramatically during engagements. As you fire consecutive bursts, a visible charge bar fills above your weapon information display. This isn't just a visual gimmick - it fundamentally changes how the weapon behaves.
What makes this charging system so powerful is how it rewards sustained engagement. The more you shoot, the faster your bursts become, transforming the Nemesis from a decent mid-range option into an absolute monster that can shred through enemy shields in seconds. I've found that maintaining this charge is crucial for maximizing the weapon's potential, especially in prolonged team fights where every second counts.
Optimal Engagement Ranges 🎯
Through extensive testing in various battlefield scenarios, I've identified the sweet spots where the Nemesis truly shines:
-
Medium Range (50-100 meters): Absolutely dominant
-
Long Range (100-150 meters): Highly effective with proper aim
-
Close Range (0-30 meters): Problematic due to hip-fire limitations
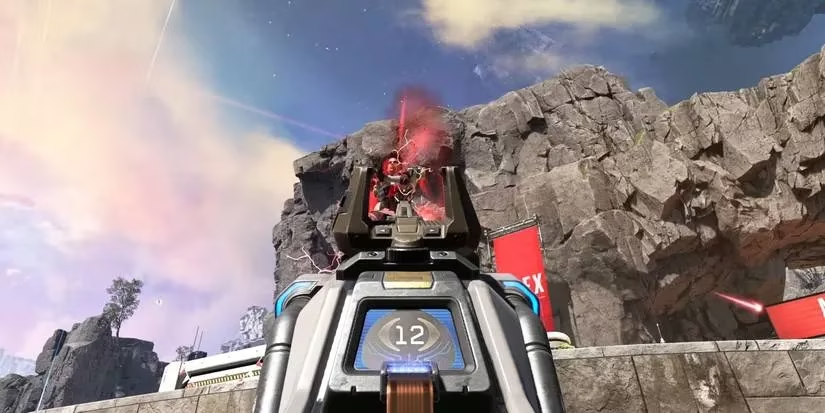
The Nemesis excels in what I call 'poke fights' - those tactical exchanges where teams trade shots from cover while looking for openings to push. When enemies peek from behind cover, the charged Nemesis can deliver devastating burst damage that often forces them to retreat or use precious healing items. This creates opportunities for your team to advance or reposition strategically.
Mastering Charge Management
One of the most challenging aspects of using the Nemesis effectively is charge management. Here's my personal approach to maintaining optimal charge levels:
| Situation | Charge Strategy | Effectiveness |
|---|---|---|
| Between fights | Fire sporadically to maintain charge | ⭐⭐⭐⭐⭐ |
| During rotations | Suppressive fire while moving | ⭐⭐⭐⭐ |
| Engagement start | Switch to secondary weapon initially | ⭐⭐⭐⭐⭐ |
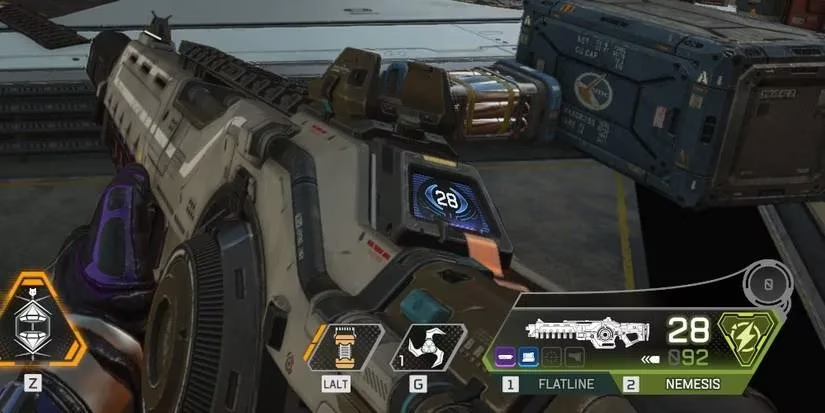
I've learned that the opening moments of a fight are when the Nemesis is at its weakest. Without any built-up charge, its fire rate feels sluggish compared to fully automatic weapons. That's why I always recommend having a reliable secondary weapon ready for those initial engagements. Once you've established position and built some charge, that's when you switch to the Nemesis to capitalize on its growing power.
Critical Weaknesses to Overcome 💔
Despite its incredible strengths, the Nemesis has some significant limitations that every player must acknowledge:
-
Terrible hip-fire accuracy - Nearly useless in close-quarters combat
-
Burst-fire limitations - Challenging against highly mobile targets
-
Ammo consumption - Burns through energy ammo at an alarming rate
-
Charge dependency - Weak performance at the start of engagements
The hip-fire spread is particularly problematic. I've lost countless close-range encounters because the Nemesis simply can't compete with SMGs or shotguns when firing from the hip. This makes positioning absolutely critical - you need to maintain optimal distance to leverage the weapon's strengths while avoiding situations where its weaknesses become liabilities.
Perfect Weapon Pairings 🔫
Based on my experience across multiple seasons, here are the best secondary weapons to complement the Nemesis:
🔥 Top Tier Pairings:
-
R-99 SMG (unmatched close-range performance)
-
Peacekeeper (devastating shotgun power)
-
CAR SMG (versatile and reliable)
👍 Solid Alternatives:
-
Mastiff Shotgun (consistent close-range damage)
-
Volt SMG (energy ammo synergy)
-
Prowler Burst PDW (burst-fire familiarity)
I strongly recommend carrying at least two stacks of energy ammo for the Nemesis alone, as its appetite for bullets is substantial. The charge mechanic can tempt you into firing more than necessary, so discipline with trigger control is essential for ammo conservation.
Legend Synergy Recommendations
Certain legends naturally complement the Nemesis playstyle better than others. From my testing, these are the most effective pairings:
✅ Excellent Matches:
-
Gibraltar (Gun Shield enhances mid-range dominance)
-
Wattson (Area control enables charge building)
-
Pathfinder (Positioning advantages)
-
Crypto (Information for optimal engagement timing)
❌ Challenging Pairings:
-
Octane (Aggressive playstyle conflicts with optimal ranges)
-
Wraith (Close-quarters focus)
-
Revenant (Assassin-style engagements)
Advanced Tactical Usage
Beyond the basics, I've developed several advanced techniques that separate good Nemesis users from great ones. Pre-firing around corners to maintain charge, using the burst rhythm to track moving targets, and understanding when to abandon charge for survival are all skills that come with practice.
The Nemesis remains one of the most satisfying weapons to master in Apex Legends. While it demands specific playstyles and awareness of its limitations, the reward is a weapon that can control engagements and secure victories through calculated, sustained pressure. It's not for every situation or every player, but for those willing to invest the time, the Nemesis offers a unique and powerful tool for dominating the battlefield.